Note: In this blog post I show how to load a certificate from StartCom into Azure. They’ve subsequently had some pretty serious issues related to WoSign and I would not recommend getting a StartSSL certificate any more. Instead, I got it setup on my site, in an even better an automated way, by following this guide. The official guide miss some stuff which this guide explains better. So use a combination of the two and you are in for a win.
——————— Below is obsolete ————————–
I recently had to support HTTPS on my domain dognrapport.dk, as it is needed when you want to use Universal Links on iOS.
I’m not going to go through how to setup Universal Links in the app, as many others have already wrong good articles about that.
What I want to go through, is how to get a certificate so you can run HTTPS on your website, as this is required.
The way to tell Apple that you own the website you want to use for Universal Links, it to put a apple-app-site-association in the root of your domain. And that file need to be accessible via HTTPS – and this is where I realised I needed HTTPS on my website.
You can read more about Universal Links here, as it’s not covered in this post.
All this HTTPS is something Apple is pretty seriously about, as they will require it for all web request from iOS apps by the end of 2016. So very soon, a lot of developers, will have to support HTTPS on their website/webapis.
The Problem: HTTPS is expensive
One of the problems, that I don’t see many others talk about, is that HTTPS is pretty expensive. At least if you are a single developer, with multiple free apps in AppStore. Of cause the prices varies, but still we talk around 100$ a year, pr. domain, and like 300$ per year, if you want a wildcard certificate, which works for *.YourDomain.com.
Therefore I needed to find a cheap, and even better, free, HTTPS certificate solution that would also work on Azure, which I’m using to host my websites and webapis.
I ended up finding a solution that works and are free. It doesn’t support wildcard, but it supports up to 5 domains/subdomains in one certificate, which were find for me. I needed 3, api.domain.com, admin.domain.com, www.domain.com.
1. Create user on StartSSL.com
https://www.startssl.com/ provides free certificates, so create a user on the site. I did it on Windows in Internet Explorer (not Edge), as it should be easier later on, because its easier to get to the .pfx file you need for Azure.
The signup and login process is a little different than what you normally see on websites, but it’s due to the fact that they base there login on an installed certificate on your machine. I’m not a security expert, so this might be wrong :)
2. Validate your domain
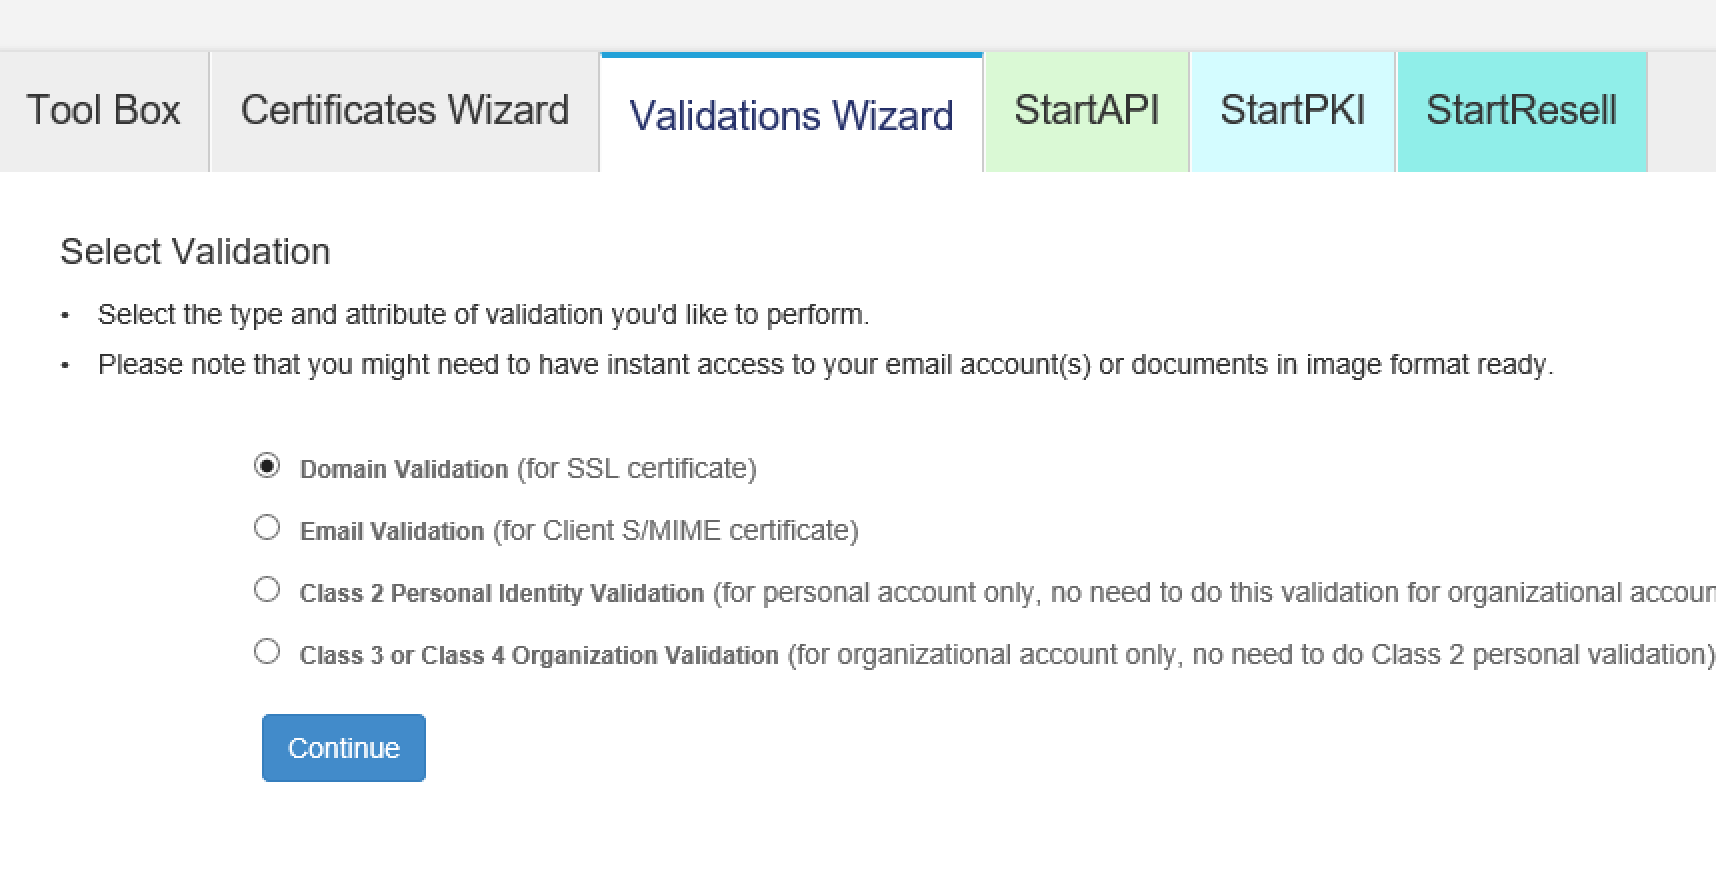
Once you are logged in, you need to validate the domain you need to certificate to work for. Note here, that it’s the bare domain you need to put in, ex. domain.com. Not www.domain.com or the like.
You can either validate by email or by uploading an .html file. I used the .html solution, as I don’t have any email setup on my domain, and it worked perfectly. Remember to put the file in the root of your site :)
After this, you should see something like this to the right on the StartSSL.com site.
3. Create certificate
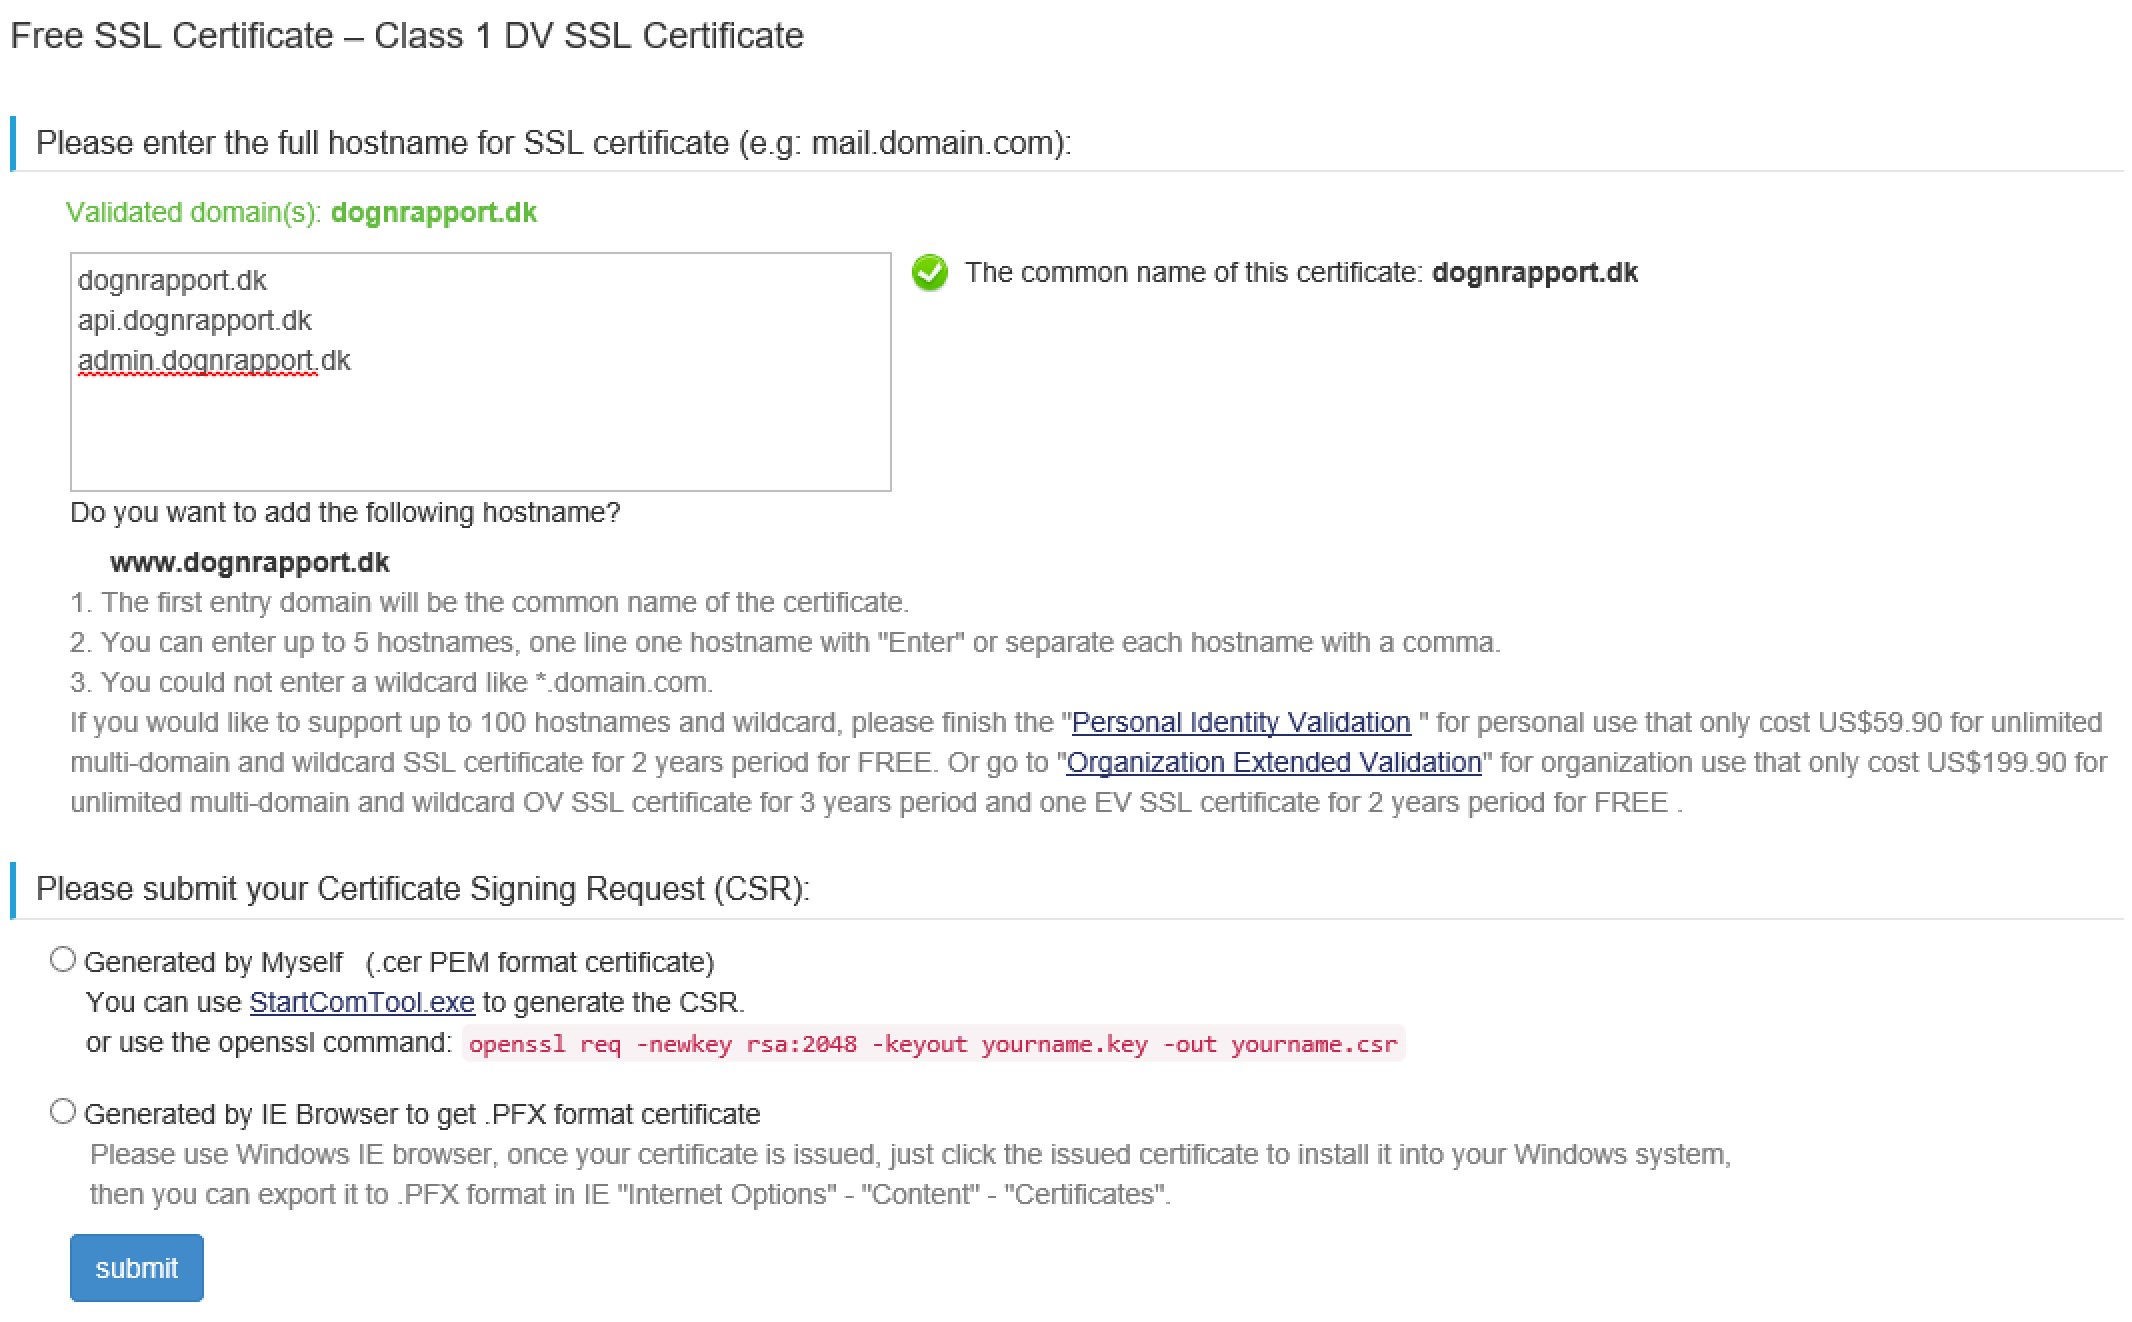
Click the “Certificate Wizard” tab and choose you want a Website certificate.
As you see here, I’m able to put in the main domain, and two subdomains, into the same certificate.
As seen in the bottom, it tells you how to get a hold of the .pfx file that you actually need to upload to Azure.
So fill this out, and press the Submit button. Your Internet Explorer will ask you a few times, if StartSSL.com is allowed to install the certificate on your machine. If you don’t say yes, to that, I’m pretty sure it won’t work.
Then follow the guide in the bottom of the above screenshot, so you have your .pfx file on your harddrive.
You are very close to running HTTPS in Azure now!
4. Upload and setup certificate on Azure
In the Azure portal, browse to the website you want to run HTTPS.
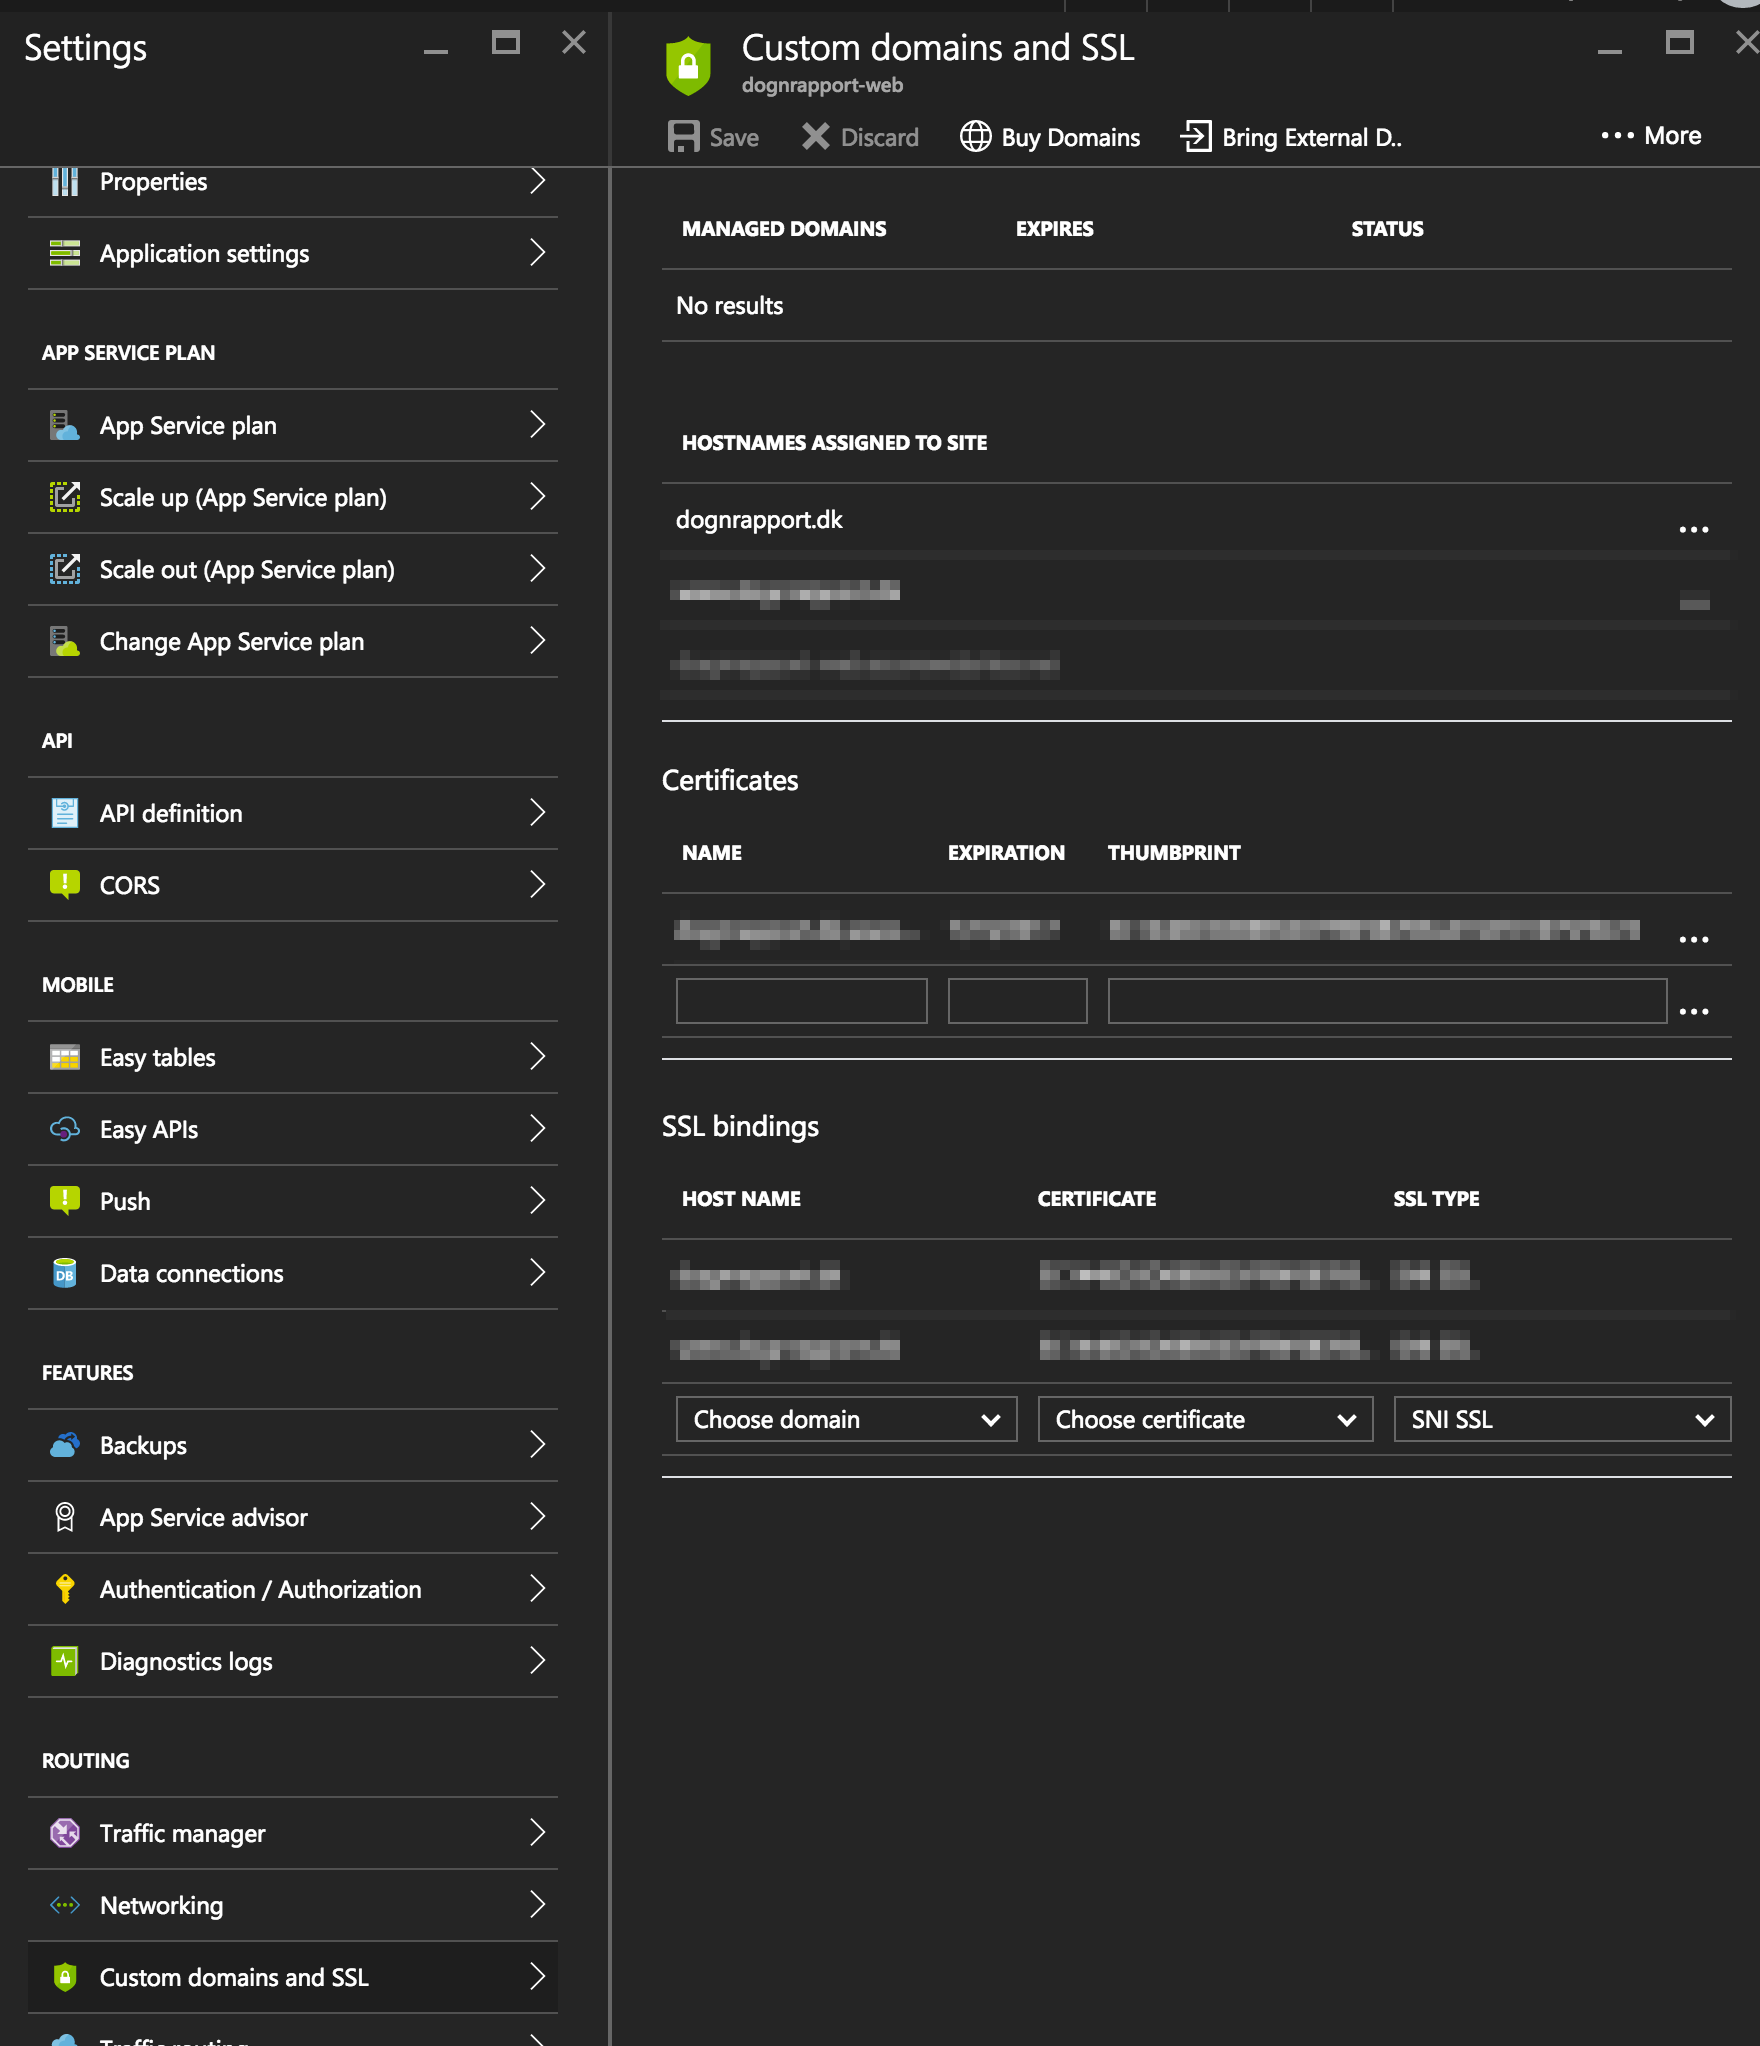
Under Settings, find the “Custom domain and SSL”.
Under the “More…” in the top, you can choose “Upload certificate”. Here you upload the .pfx file and provide the password you have been asked to create earlier on, when creating the certificate.
Now all you need to do, it so setup the SSL Bindings and then you should be up and running, after pressing the Save button of cause.
Happy secure browsing, and Universal Linking :)
Source: I was originally following this guide, but it was a little out dated. I list it here, to give credits to the author of that blogpost and you might be able to find details you didn’t find in my blogpost.


